Campaign Overview
The campaign is the fastest way to learn how Transport Fever 3 turns roads, stations, vehicles, and supply chains into a working network. Each scenario gives you a focused transport problem, so you can practice planning without building an entire sandbox empire from scratch.
There are eight missions, starting with guided introductions and moving toward larger logistics challenges, constrained budgets, congestion, and timed objectives. Finish the active main objective first; optional stars are much easier to pursue once the core network is stable.
| Mission | Scenario | Main focus |
|---|---|---|
| 1 | Saving Mardi Gras | Basic construction, road freight, and ships |
| 2 | Alpine Crossing | Rail building and electrification |
| 3 | Desert Adventure | Exploration, supply delivery, and oasis planning |
| 4 | Biggest Festival Ever | Festival logistics and road congestion |
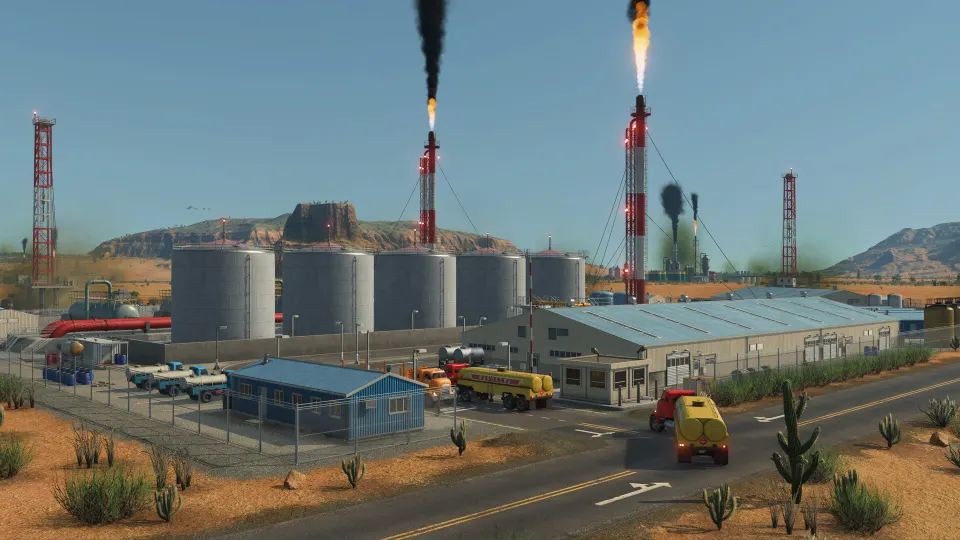
| 5 | Oil for the People | Oil delivery, scouting, and efficiency |
| 6 | Island Expansion | Subsidies and regional rail development |
| 7 | Big City Problems | Urban roads, trams, and public approval |
| 8 | Final Countdown | Fast island logistics and rocket assembly |
Treat every mission objective panel as your authority. The scenario can reveal new requirements after you finish a task, so avoid spending all available money before you know what comes next.
Mission 1: Saving Mardi Gras Walkthrough
Saving Mardi Gras takes place in 1906 New Orleans. It introduces the construction menu, line management, vehicle purchases, and the difference between building infrastructure and actually moving cargo.
Start by following the highlighted objectives in order. The early tasks are deliberately simple, but they establish the habits you will need for later missions.
| Step | What to do | Why it matters |
|---|---|---|
| Find alligators | Click the highlighted alligators, then release them | Teaches map interaction and objective tracking |
| Clear fallen trees | Select the bulldozer and remove marked trees | Opens the blocked route |
| Rebuild the road | Place a Small Country Road between the marked points | Creates a usable road connection |
| Build a road depot | Place it in the highlighted area | Lets you purchase road vehicles |
| Buy a horse and carriage | Use the depot vehicle-management screen | Provides freight capacity |
| Create a line | Connect the required pickup and delivery points | Gives the vehicle an assigned route |
Once the line exists, assign the carriage to it from the depot. It should collect wood and deliver it to the construction site. Increase game speed only after confirming the vehicle is on the correct line and can reach both stops.
After the delivery registers, remove the temporary line if it no longer serves a purpose. Leaving unnecessary routes active can create confusion when you begin connecting the later warehouse and hotel network.
The next stage rebuilds the fishermen’s warehouse and restores water transport. Build the warehouse in its marked location, purchase a compatible boat at the shipyard, and assign it to an upstream or downstream route as requested. Fish and shrimp routes may differ, so check the active objective before committing to a direction.
Finally, place a station near the warehouse, create a route to the hotel, and connect it to the existing road network. The lesson is not merely to buy another vehicle: it is to make sure every leg of the journey connects.
Route Planning Checks That Prevent Stalls
A line can look complete while still failing to move passengers or cargo. Before expanding a network, inspect the whole journey from origin to destination.
Use this checklist whenever a campaign objective refuses to progress:
- Confirm that the producer has the requested output available.
- Confirm that the destination accepts that specific cargo.
- Verify that stations or stops cover the relevant buildings.
- Check that every vehicle can carry the assigned cargo.
- Make sure the line includes every necessary stop in the right order.
- Inspect transfer points when a shipment needs more than one vehicle.
- Let the route run long enough for loading, travel, and unloading to occur.
| Symptom | Likely cause | Best first fix |
|---|---|---|
| No cargo at the origin | The producer lacks output or inputs | Inspect the industry’s production chain |
| Cargo waits at a stop | No suitable vehicle is assigned | Check vehicle type and line assignment |
| Vehicle runs empty | Station coverage misses the building | Move or rebuild the stop |
| Delivery does not count | The final destination is not connected | Trace every transfer and unloading point |
| Passengers drive instead | Service is slow, indirect, or poorly covered | Improve stop access and route quality |
| Roads become jammed | Stops block a main corridor | Move stops onto side roads |
Do not solve every stalled line by adding vehicles. More vehicles can worsen congestion, especially in urban missions. First determine whether the problem is coverage, compatibility, demand, or a broken transfer.
Overlays are especially useful here. City and infrastructure views help identify residential, commercial, and industrial areas, while passenger-flow information reveals where people are already traveling. Use these views before building a costly rail link or city tram system.
Campaign Strategy for Later Missions
Later scenarios become less about clicking the next highlighted object and more about managing tradeoffs. You may need to choose between a cheap temporary route and a more durable route that supports future tasks.
| Mission type | Planning priority | Common mistake |
|---|---|---|
| Mountain rail scenario | Leave room for complete electrification | Missing isolated track segments |
| Desert expedition | Supply useful oasis locations | Sending materials to low-value camps |
| Festival logistics | Keep traffic moving around the site | Putting freight stops on main roads |
| Oil competition | Scout production opportunities early | Spending before securing delivery income |
| Island subsidies | Build routes that satisfy several goals | Treating each subsidy as a separate network |
| City transport | Protect traffic flow and public approval | Overbuilding passenger rail too soon |
| Final timed mission | Build while paused and prioritize throughput | Keeping outdated cargo settings after recipe changes |
Keep freight facilities away from growing residential districts whenever possible. Warehouses, depots, and busy stations create noise, and putting them directly against a major road can prevent easy upgrades later. Leave a small access road and enough physical space to widen the corridor.
For rail, avoid treating every station as the end of the line. A through track beside the station lets express or future services continue without waiting behind stopped trains. This costs more space initially but saves major reconstruction later.
Maintenance coverage also matters. Put maintenance facilities where vehicles spend time, often near stations, rather than only beside high-speed track. A train rushing past a facility receives little practical benefit compared with one regularly stopping inside its coverage area.
Stars, Money, and When to Move On
Most missions reward completing the main objective and may include optional stars or awards. The exact requirements vary, but the safest approach is consistent: establish a reliable core network, complete the required scenario task, then optimize for optional goals.
| Priority | Recommended approach |
|---|---|
| Main objective | Build the smallest reliable network that completes it |
| Optional stars | Improve efficiency after the mission is secure |
| Limited money | Delay decorative or redundant construction |
| Congestion | Separate freight traffic from busy city streets |
| Timed goals | Pause, plan all connections, then build quickly |
| Vehicle upgrades | Replace only when capacity, speed, or availability requires it |
Some campaign scenarios restrict loans or make borrowing unattractive. Do not assume a loan is available simply because it was useful in another mode. If the mission gives you limited money, focus on direct connections that unlock the next delivery rather than broad expansion.
In timed scenarios, pause the game while laying out infrastructure and checking line settings. Time spent correcting a wrong cargo list, rebuilding an unreachable station, or untangling a road junction can be more damaging than the cost of a slightly better initial plan.
Save manually at important milestones. Autosaves are helpful, but a named save before a major objective, vehicle change, or route redesign gives you a dependable place to return to if a mission plan goes wrong.
FAQ
How many missions are in Transport Fever 3’s campaign?
The campaign has eight missions, beginning with Saving Mardi Gras and ending with Final Countdown.
Is Mission 1 only a tutorial?
Mission 1 teaches core systems, but it still demonstrates the full logistics loop: build infrastructure, buy a vehicle, create a line, assign it, and deliver cargo to the correct destination.
Why is my cargo not moving?
Check output at the producer, station coverage, vehicle cargo compatibility, line stop order, and whether the receiving building accepts that item. A connected road alone does not create a functional delivery.
Should I chase stars immediately?
Usually no. Complete the main objective first, then use the stable network to improve efficiency or fulfill optional conditions.
What is the best Transport Fever 3 campaign guide advice for timed missions?
Pause early, map the complete supply chain, prioritize high-throughput connections, and recheck vehicle cargo settings after any objective changes a production recipe.